The Stained Glass Process
There’s something meditative about stained glass. It’s slow, hands-on, and just the right mix of creative and technical. I thought it’d be fun to walk you through how a piece comes to life in my little home studio in Prague. With some sharp glass, hot solder, lots of music in the background, and usually my dog Charlie hanging out nearby (when it’s safe to!) its a fun process.
The Idea
It always starts with my inspiration for a design. Maybe something from American traditional tattoo flash (like a sacred heart, a dagger, or a mourning dove) or something I saw on a hike here in Prague. I sketch it out or refine a pattern I’ve drawn before.
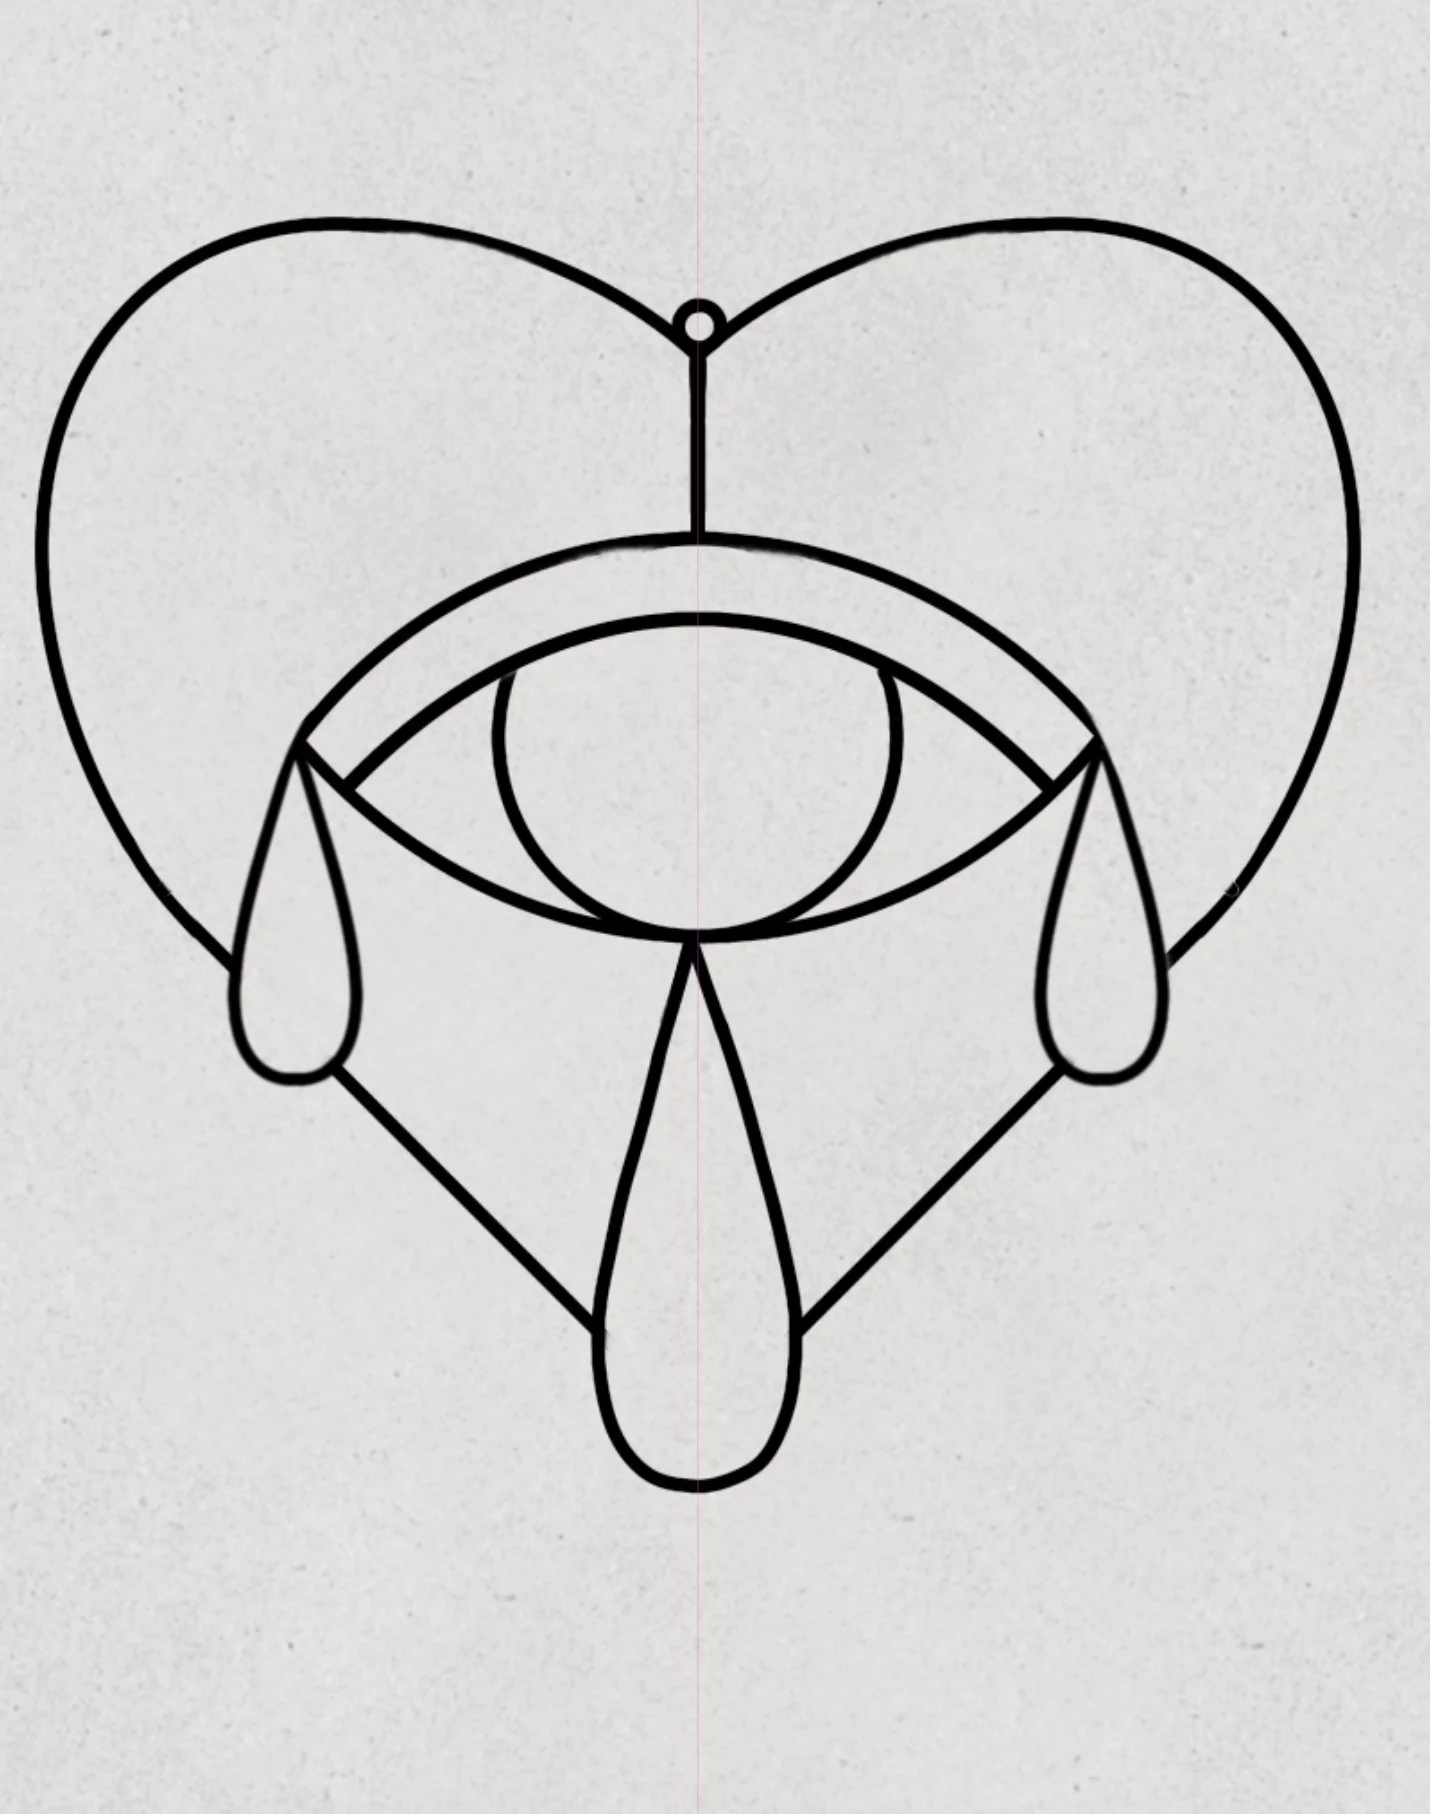
Digital drawing of a heart with a large eye in the center to be used as a pattern for cutting glass.
Choosing the Glass
This part is pure fun. I go through my collection of glass. There’s rippled textures, smoky colors, dreamy transparents, and I pick what works best for the design. The glass itself brings so much mood.
Cutting the Glass
I trace the design onto each piece of glass if transparent or use labels/vinyl decals if opaque, then score along the lines using a glass cutter. You have to apply just the right amount of pressure. Too little pressure and it won’t break, too hard and it’ll chip. The optimum pressure is between 4 and 7 pounds depending on the type of glass, you’ll get the hang of it! With most glass you can hear when it’s right. Then I use pliers to “run” the cut and break the glass apart.

A picture of my cutting setup, a few glass cutters for doing different types of cuts/running pliers/glass oil/a waffle grid to catch the shards.
Grinding the Edges
This is where everything gets smoothed out. I use a glass grinder to round sharp edges and make sure each piece fits snugly with the others. It’s kind of like sanding puzzle pieces until they lock together.
Foiling the Pieces
Each edge gets wrapped in copper foil. This is what the solder sticks to later. It’s a little fussy but satisfying—like wrapping tiny presents in copper tape. You need to perfectly center each edge of each piece on the tape and make sure to adhere it well by going over every side of the tape multiple times with a fid or burnisher.
Soldering Everything Together
I brush on some flux, then heat up the soldering iron. This is where it all comes together (lol literally). I join the pieces with melted solder, first tacking them in place, then running smooth lines across the seams. I usually listen to music or an podcast while I work. The back and front are usually easy enoguh but the edge beading can be difficult. You want to do more than tin (a very light coating of solder) the edges, you want a full bead that is rounded off for more strength to the overall piece. This step is when I would add the jump rings and any decorative wires.
Patina, Polish & Final Touches
After soldering comes the elbow grease. I clean each piece with a defluxer. Then I clean again with baking soda, and again with a melamine sponge or 0000 steel wool or both. The more you clean and scrub here, the darker and more even your patina will be. 90% of the time, I use a black patina that I apply to the solder lines. Then I clean and polish the piece to protect it and make it shine. I add hanging loops or a chain, and that’s it, it’s ready to live in someone’s window or decorate their wall!
Final Thoughts
It’s not a fast process, but it’s a meaningful one. There’s beauty in doing things by hand. With each piece I can learn a new technique or way of doing things, experiment with something new. Every piece has little quirks, but that’s what makes it yours.
If you’ve ever thought about trying stained glass or just wanted to know how it’s done, I hope this gave you a little insight. If you have questions, feel free to send me a message!